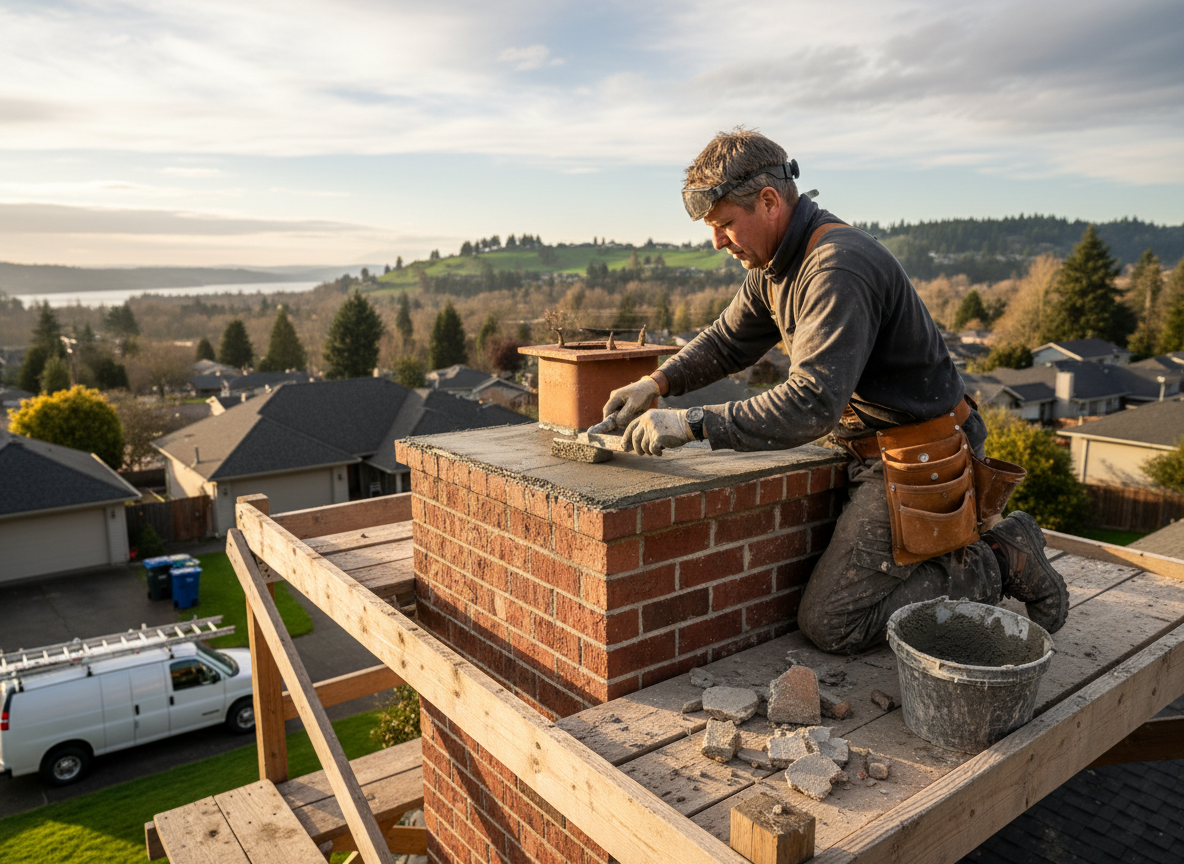
Chimney crowns in Milwaukie take constant punishment from the region's mild wet winters. Rain soaks into hairline cracks around the flue tile and flue liner, then freezes and expands during rare cold snaps. Over time this opens paths for water to reach the chimney chase, especially on homes built before the 1970s in Ardenwald and Hector Campbell where clay tile crowns were common. A proper repair starts with removing loose concrete, installing a new reinforced concrete or pre-cast crown with a proper drip edge, and sealing the joint to the flue tile with high-temperature caulk rated for constant moisture exposure.
Homes near the Willamette River in Island Station and Downtown Milwaukie sit in low pockets that hold fog and humidity longer than properties farther east. This extra moisture accelerates spalling on the crown edges and can wick down into the brick or stone veneer. When we rebuild a crown we also check the flashing where the crown meets the roof deck; older asphalt shingles common in these neighborhoods often fail at that transition and allow water to bypass the new crown entirely. We always extend the new crown slightly beyond the chimney walls and slope it outward so water sheds before it reaches the masonry.
Portland's building codes adopted in Clackamas County require a minimum two-inch overhang and positive drainage on any new crown. Skipping the overhang or using a flat pour is the fastest way to see the same cracks return within two winters. We also verify the chimney height relative to the roof plane; many Milwaukie roofs have low pitches that keep the crown in constant shade, slowing evaporation after rain and increasing the chance of moss and lichen growth that holds moisture against the concrete.
Access on narrow lots in Hector Campbell often means setting up from the roof rather than using a full scaffold. That changes the mix design we use because we cannot vibrate the concrete as thoroughly. We compensate with a slightly wetter but still high-strength mix and add fiber reinforcement so the crown stays intact even if a few vibration voids remain.
Technician insight
In Milwaukie the thing that catches most people out with chimney crown repair is how quickly water from the Willamette River fog and Ardenwald's tree cover keeps the crown wet for days after a storm. Homeowners often think a small crack is cosmetic until it has already let water into the chase and stained ceilings two stories down.
Ardenwald Crown Failure
A 1960s brick chimney on a ranch in Ardenwald showed interior water stains after several wet winters. We found the original crown had cracked along the flue perimeter and the flashing had pulled away. We removed the failed crown, poured a new sloped concrete crown with proper overhang, and replaced the step flashing. No further leaks appeared the following winter.
How it works
- 1
Site Assessment
We inspect the crown, flue tile, and flashing from the roof and note any water staining inside the chase or attic. Photos document existing cracks and slope issues before work begins.
- 2
Demo and Prep
Loose concrete and old sealant are removed down to sound substrate. The flue tile is cleaned and checked for spalls that would prevent a watertight bond with the new crown.
- 3
Form and Pour
A new form with proper overhang and drip edge is set. Reinforced concrete is placed, sloped outward, and finished with a steel trowel to reduce surface porosity.
- 4
Cure and Seal
The crown cures under plastic for 48 hours. Once dry we apply a breathable masonry sealer and reinstall or upgrade the chimney cap if needed.
Pricing
Cost depends on crown size, roof access, and whether flashing or flue tile work is required. Upfront quotes given after inspection.